
Chicken Run Roof Part 1: Rebuilding a Picket Fence
On 24 May 2026 by MikeWhen summer heat is routinely 115, shade is a big deal for everyone, and certainly for chickens. We love our chickens and don’t want them to suffer in the heat. It’s a very real, potentially life‑threatening situation for a chicken to be trapped without shade.
I was surprised, on moving into the Scahill Ranch, that there wasn’t already stable shade over the chicken run, as the rest of the chicken setup is extremely impressive. I do wonder what our previous owners, who were certainly pro‑chicken themselves, did. If y’all are reading this, please drop us a note — I’m mighty curious.
For our first couple years here, I got by on a pretty janky setup with 2x2s, 1x2s and heavy wire barely holding up bird netting (to keep hawks away from our little girls) and woven plastic shade to which I added a tarp during the peak summer heat last year. This was a little delicate. The light, porous shade survives wind & rain better than I’d have expected, and tarp wan’t destined to survive more than a season. But it was all cheap, simple and got the job done.
Until April 2026, that is, when I was a little hasty and put the new season’s tarp up, unwittingly, less than a week before we got an unusual major thunderstorm. Of course, the water quickly pooled on the tarp, and its weight smashed all those extremely shaky framing supports.
I had known for a while the wooden picket fence around the chicken run was similarly on its last legs. The pickets were barely holding on, and even the 4×4 posts cemented into the ground were clearly not long for this world.
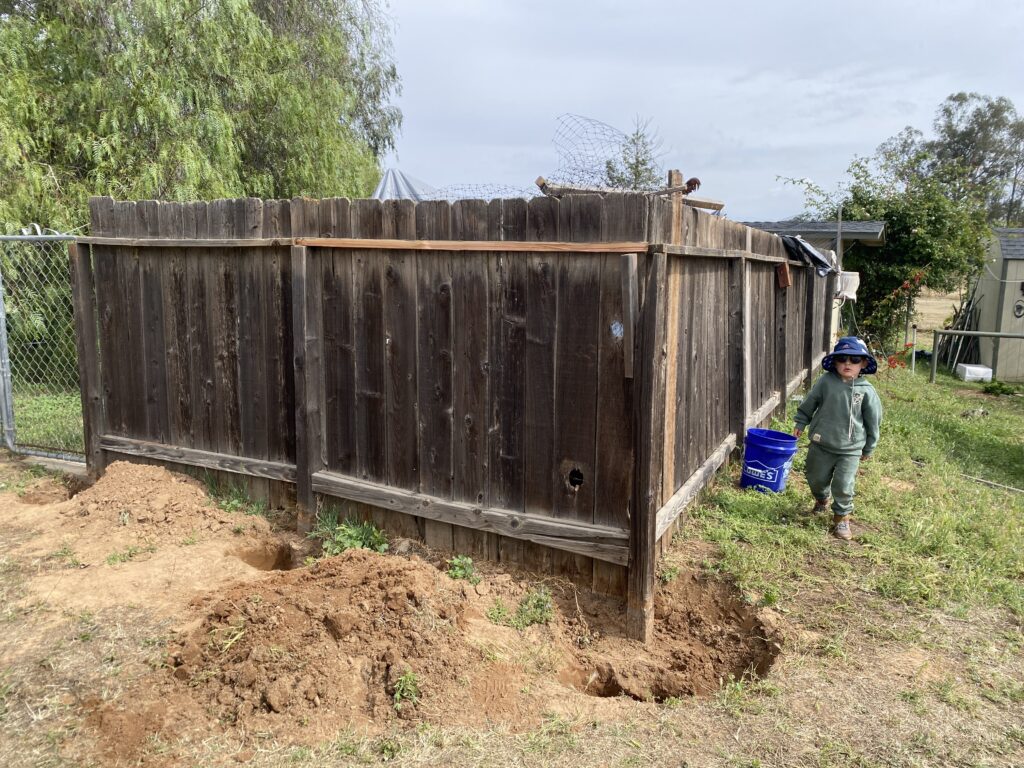
So when my tarp structure collapsed, I realized it was time to bite the bullet and replace the whole thing. In doing so, I had a chance not just to replace the fence, but also to put a stable, permanent shade roof up over at least part of the chicken run. This made it a pretty extensive job, but it sure seems like it was the right call, and both I and the chickens are glad to have it done.
Such a big job was it that I’ll cover it in two parts. Here I’ll finish up with how to replace a fence, and in the sister post I’ll cover building a shed roof.
Replacing a Picket Fence
Building or replacing a picket fence is really not that bad, especially if you have a few key tools, including a post hole digger, an impact driver, and, if you’re replacing and demolishing an old fence, a decently sized sledgehammer. The only truly labor‑intensive part is digging up the old concrete posts.
For us, lacking a backup chicken coop and run, step one was setting up a temporary fence to keep the chickens away from the section of fence I was working on. Fortunately, our chicken run is big enough, and the area I was putting the shade is, of course, on the sunniest south end, conveniently located opposite the chicken coop. I was able to run a temporary fence of chicken wire and some janky posts through the middle of the chicken run without too much trouble.
Indeed, I’d already had this set up partially as a temporary barrier for when introducing our new chicks into the enclosure with the adult hens last year. More on that likely in a future post, as it does take a bit of nuance to add to an existing flock.
This temporary fence, however — as I knew it would be — ended up being one of the pressure and time‑limiting factors for the project. It was definitely not going to hold up against a determined predator, including our older dog, who, while she didn’t actually attack any of the chickens, lingered by the fence and intimidated them enough that four of them literally flew the coop shortly before I finished this project, sending me chasing chickens around our property to get them safely back inside.
Between that and the inevitable onset of summer heat and concrete‑hard ground, I knew I had to get this job done very quickly.
Digging Out the Old Concrete Posts
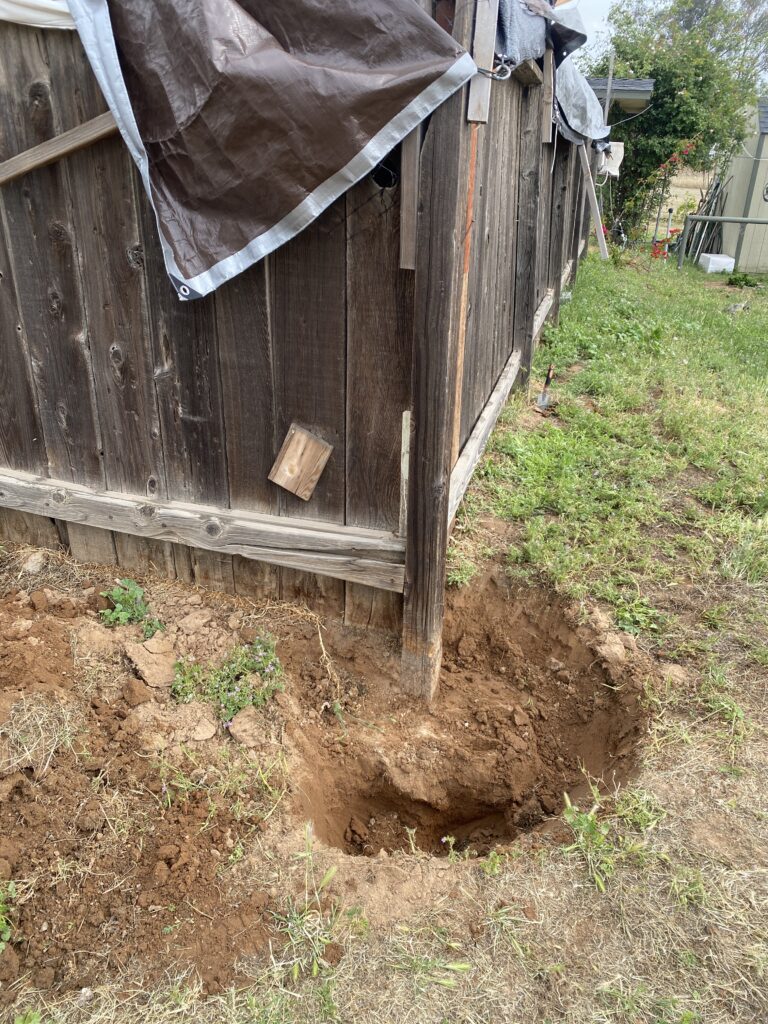
With the temporary fence in place, it was on to the real step one: digging up the concrete posts, definitely the least fun part of this job.
You need to grab a shovel and dig out around the posts in a roughly 180‑degree sweep until exposing the bottom of the concrete “foot,” which generally extends 1-2 feet under the surface. Ideally, whoever put in the post will have used a post hole digger to get a nice, fairly narrow, regular cylinder of concrete.
We had one post that somehow ended up extremely irregular and needed a lot of digging to sort it out. Indeed, it was so irregular that I ended up needing to sledgehammer a couple of outcroppings in the cement just to dig under them and have any realistic prospect of getting that thing out of the ground. On the plus side, sledgehammering is fun and very satisfying when it works well.
With our posts exposed and the chickens safely contained, the next step was yet more very satisfying sledgehammering. This was definitely the most fun part of the job as, obviously with gloves and thorough eye protection in place, I got to swing a heavy sledgehammer around and smash the old fence into its component parts.

The key here is to separate the posts from the horizontal beams, or stringers, and the pickets. When a 4×4 fence post is decayed thoroughly enough that you need to replace it, it’s going to be very brittle, especially down at the bottom where the post meets the concrete. If I had just yanked on the posts or sledgehammered the post itself while smashing up the fence, I probably would have ended up breaking the post at the concrete line. This isn’t the end of the world, but it is a lot easier to get those concrete feet out of the ground with the posts still attached as it gives you a bit of leverage. And so the goal in sledgehammering is smashing the stringers and the pickets off the posts, then using the remains of the post to lever the concrete foot out of the hole you dug.
Refilling the Post Holes
With that done, I had a couple of big holes in the ground and a big old pile of decaying scrap wood, rusty nails, and dirty old concrete feet. Sticking with the fence‑replacement storyline here, the next step is to partially refill those big post holes we dug out.
If you were putting a brand new fence in, all you need is a post hole digger to get some nice, small, circular holes that you can fill with concrete. End of job.
But replacing an old fence means you’ve got a gigantic hole in the ground, at least in the half circle around the old concrete that you had to dig out. And while it’s possible to refill that whole thing with concrete, it is a big waste of an extremely heavy raw material that is a pain in the neck to get to your house. And heaven forbid you’re the one who has to replace this fence yet again some years down the road, as digging a concrete post out of the ground that has a three‑foot‑diameter semicircle foot on it is no small job.
To avoid this torture, either to my future self or whoever may buy the Scahill Ranch some years down the road, I cut chunks of the abundant pile of scrap fence parts wood I’d just created and wedged them into the ground to recreate something like a reasonably sized post hole. Generally, I ended up using two flat sides at 90 degrees to make a pizza slice shape with the circular post hole on the other side. With these scrap‑wood barriers in place, I could then fill everything outside it with dirt and so leave a much more reasonable hole to fill with concrete.
It’s good practice to throw a couple inches of gravel in the bottom of your post hole to aid drainage away from the wood. We don’t get a ton of rain, but even a pressure‑treated 4×4 that’s sitting in water will decay considerably faster than one with good drainage.
Posts -> Stringers -> Pickets -> Done!
From there, the fence alone would have been easy. Set the new 4×4 in the first hole. Clamp it to something heavy – 4x4s for upcoming holes + some gravel bags – to anchor it vertical. (Here a post-level is a great investment. Just don’t get suckered by the rubberband. It’s useless and can skew the alignment. Take it off and clamp the level firmly to the post.) Pour concrete, mix water and repeat. Quikrete “red bag” is great for DIY. You can just pour powder in the hole and mix in some water. No need to pre-mix! And setting in 45 min means you don’t have to fret about keeping the all the posts perfectly vertical all day. Post 1 is set by the time you finish preparing for post 2, so you can anchor and align each new one to the last one.
If you’re doing just a fence, a little misalignment, height discrepancies or a few degrees off vertical are not a huge deal. It is a big deal if, like me, your fence posts are also holding up a roof. More to come.
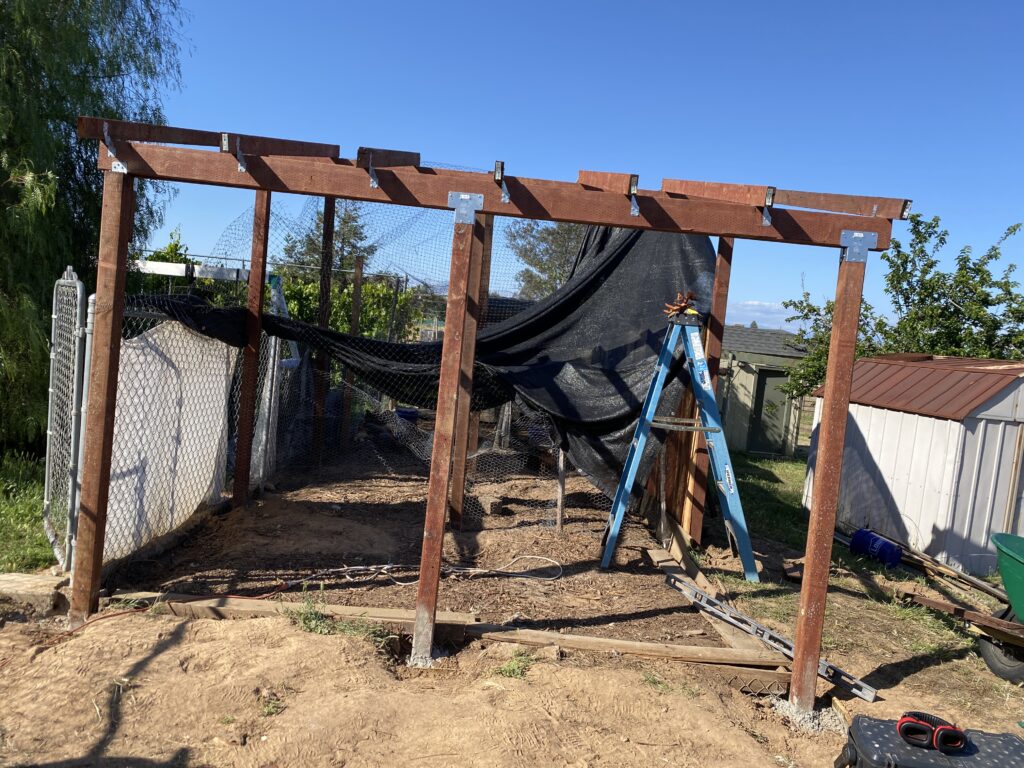
Once the posts are up, the fence is home free. A couple pressure treated 2x4s form the stringers – horizontal frames between the posts. If you’re building from scratch and measure / align carefully, you can try to plan your posts to be exactly 8 ft apart, so these slide in perfectly. To hedge or, if you’re rebuilding and are stuck with the previous design, cutting the 2x4s to length is a bit of work. There are various approaches to attaching the stringers to the posts. Our old setup used the simple if inelegant long-nails-banged-in-at-a-angle. I loved the Simpson FB approach – quick & easy especially using the matching screws and an impact driver and the width of the brackets gives you a little margin for error on the short side when cutting the 2x4s. The height of the stringers doesn’t really matter – one roughly a foot off the ground and another roughly a foot from the top of the pickets does the trick. Getting them consistent across fence sections or even perfectly level is mostly a question of aesthetics.
Once the stringers are up, just hammer the pickets to them, and you’re done! I happily invested in a battery nail gun – massive time & arm strain saver. Careful when shopping. 15-16 gauge is great for fence pickets. 18-20 gauge is small, might work in a pinch. Framing nailers are awesome for heavy lumber but will shoot a nail right through a flimsy fence picket. Traditional nail guns hook up to a pneumatic line, which is ok if you own an air compressor and don’t mind lugging it and all its cords around to your worksite. If not, stick with the batteries. And of course, pick up a pack of nails that fit the gun.
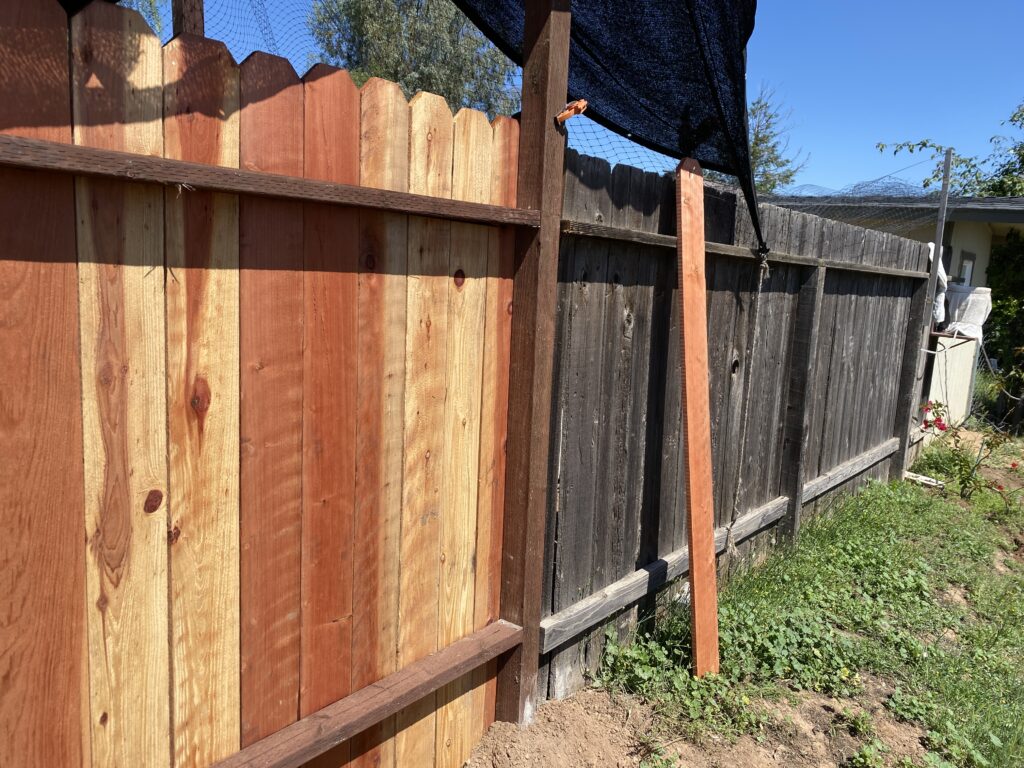
Boom – picket fence (re)built! Wasn’t that bad, right? Tackling the roof was the hard part…